


24-hour national service hotline
Please contact us for further information
contact>>date:2017-08-18 14:29
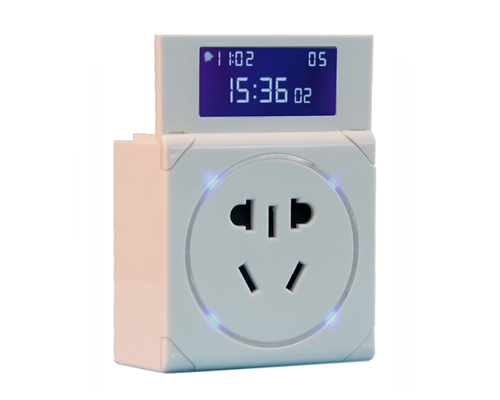

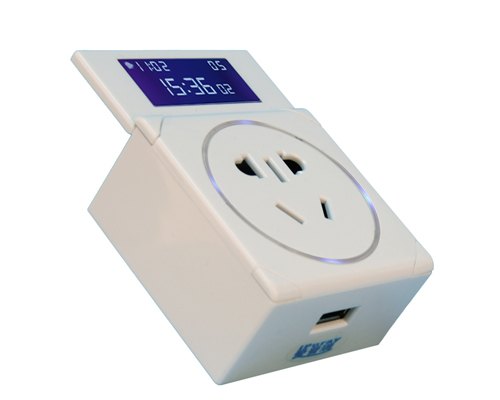
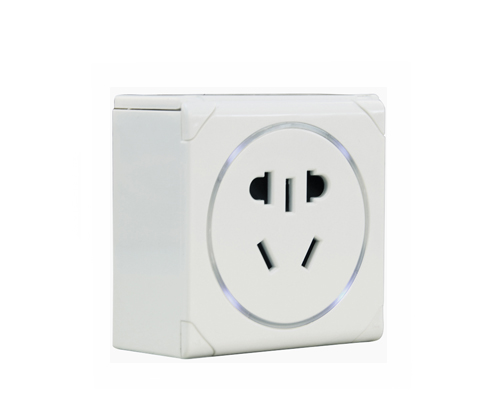
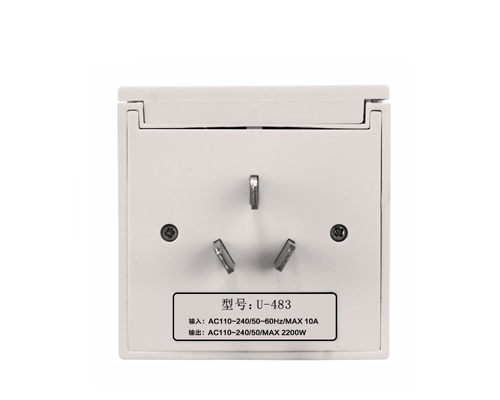


WiFi (IEEE802.11b/n/g) remote control with user friendly smartphone App;
Direct control with flip up display and 4 buttons on four corners;
USB charging port;
Charging protection automatically turns off power when charging is completed;
Internal shutter for child safety;
Blue LED ring nightlight;
PC-V0 flame resistance material; and
Compact design and high quality build.
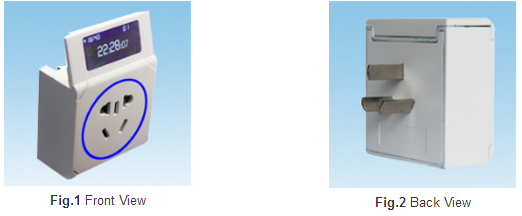
Fig. 1 and Fig. 2 show the front view and the back view of U-483 timer plug-in respectively.
As shown in Fig. 3 u-483 timer plug-in has a flip up LCD display on its top a standard power socket on its front 4 operation buttons at its corners and a USB charging port on its bottom.

Fig.3 Ports Controls and LCD Display

U-483 has no need for further wiring installation. As shown in Fig. 4 and Fig. 5 once it is plugged to a wall socket or extension bar it is ready to go.

Fig.4 Plug to a Wall Mount Socket

Fig.4 Plug to a Wall Mount Socket
Using the 4 buttons and the flip up display of U-483 users can manually turn on or turn off the loads or set up timing periods to have U-483 automatically turn on or turn off the loads. As shown in Fig. 6 the display shows weekdays clock timing period #s and ON/Off status.

Fig.6 LED Display
1.Set up the clock:
Once powered on BRT-483 displays clock as follows:

Press and hold K1 button until the clocks digits flashes and then press K1 button to select weekdays hours or minutes to be changed. Pressing K3 button will increase the flashing digits while pressing K4 button will decrease the flashing digits. Finally press and hold K1 button to exit setup and save the settings.
The setting will be saved as well if there is no button operation for 30 seconds.
2.Manual Override:
Pressing K2 button will manually turn on or turn off the load.
3.Set up Timing Periods:
Press K1 button to enter timing period set up screen as follows:

Pressing K1 button to select timing action (On or Off) or timing (weekdays hours or minutes) to be set and make the selected digits flashing. Pressing K3 button will increase the flashing digits while Pressing K4 button will decrease the flashing digits.
Once one timing period is set up pressing K1 button will bring up the timing setup screen again. Repeat the above procedures to complete setting up the next timing period. Up to 24 timing periods can be set up for any day.
Finally press and hold K1 button to exit setup and save the settings. The setting will be saved as well if there is no button operation for 30 seconds.
4.Review or Delete Timing Settings:
Press K3 button to enter timing setting screen as follows:

The timing periods will alternate when pressing K3 button. If a timing period needs to be deleted pressing and hold K4 button. Finally press and hold K3 button to exit and save the changes.
The changes will be saved as well if there is no button operation for 30 seconds.
5.Reset U-483:
Pressing and holding K2 button for 5 seconds will reset U-483 to the default settings.
6.Charging:
Connect a USB cable to the USB port.
7.Nightlight:
When the LCD shows clock pressing K4 button will turn on or turn off the nightlight.